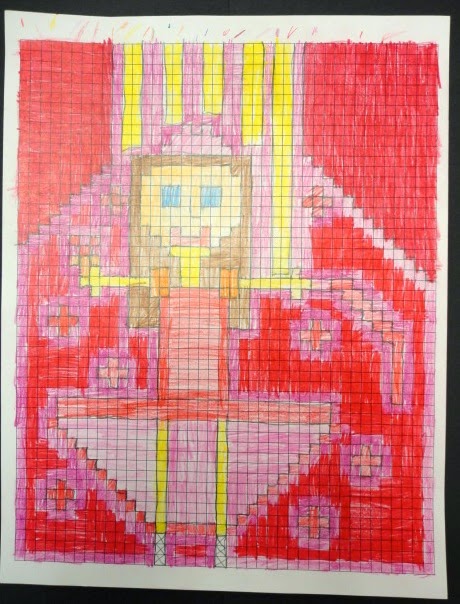
If you don't like this project, there may be something wrong with you. (Go get it checked out!) This is just pure fun for me. I originally designed the project to be a throw-back to the 8-bit video games I played while I was growing up. I've noticed quite a bit of 8-bit retro style popping up all over the place lately. Many game apps are created to have an older look to hook all of the nostalgic 30 and 40 somethings out there.
Of course half of my students are completely obsessed with Minecraft lately. The cubic style of that game plays right into the style of this lesson as well. A lot of my younger students even think that this is a Minecraft project.
I love the results of this lesson, but it does get a little tedious for some my students. There is a lot of very precise coloring. Ideally, I would love to do this project on the computer. Does anyone know of a program that would work for this type of a project?
Download my lesson plan here!
I grew up in the 80's. Everything was neon, there was a lot of hairspray, and it was the golden age of video games. I could usually be found playing outside, but I also enjoyed sitting down with the NES playing video games on cold or rainy days. Since the 80's are apparently cool again (why???), I've noticed quite of design that is inspired by 80's 8-bit video game design. That was the basis for this project.
I was totally psyched to start this project. I put together a Keynote that not only contained sweet 8-bit game characters, but the theme music from the games as well. Teaching art with the Zelda theme in the background simply makes everything a little more epic. My students discussed the qualities and restrictions of 8-bit style and then used some simple grid paper to create a couple of practice versions of themselves as an 8-bit character. Students could do a more realistic version or they had the option of putting themselves in a video game of their own creation.
The final version was done on a grid that I photocopied onto card stock. The work was drawn out with pencil, then colored with colored pencils. I just wrote this lesson this year, and I think it turned out really cool. I may think about using a slightly larger grid next year, but I was very happy with the results overall.
Click here to download my lesson plan!
This is another project that I had my sub run part of while I was out on paternity leave. It is pretty straightforward and my students really seemed to enjoy it.
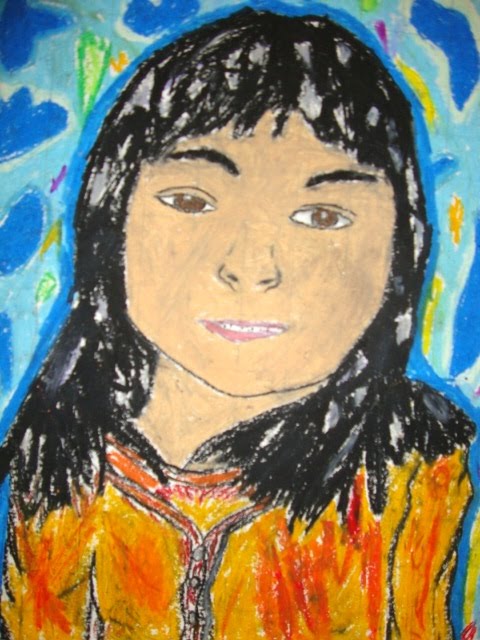
We started out by talking about what a self portrait is and comparing several famous examples. After doing a demo on the chalk board (yeah, they do still exist), I had my 3rd graders start working on drawing themselves. I have these cool double-sided mirrors that my students used in order to draw directly from life. After a day of practice, they drew their final portrait. They were allowed to draw themselves in any time period, including the present. The portraits were then painted with tempera paint. I think I ended up with pretty good results overall.
Here is a link to the handout I drew up for my students to work from. Feel free to use it in your classroom if you'd like!
I think this will be the last of my student teacher's projects that I will be posting this year because she finished her time at Thomas last Friday. Thinking back on it, I probably should have given her the opportunity to write the blogs posts about her projects, but I really didn't want to overwhelm her.
This project was designed around students learning how to draw self portraits. I usually do a self portrait project with my third graders, so it fit in very well. Students studied the pop art work of Roy Lichtenstein and discussed his simplified use of color. After using mirrors to draw themselves, students used bubble wrap to print Benday dots on their portrait drawings. The final step was to cut out their portraits, mount them on black paper, then make action words to go along with the image.
I think the idea of this project was more exciting than the final outcome. I was a little disappointed with how the bubble wrap printing. My students had a tendency to smear the dots a little. If I would do this project again, I might just use one large piece of bubble wrap for the whole face and not worry about doing multiple colors. Some students who were absent also had pretty good success using colored pencil to make their Benday dots.
During the filming portion of the claymation project, I have one table at a time film. Because of that, I run another project at the same time in order to give the rest of the class something fun to work on. For the last several years, I have had my 5th graders create self portraits in the style of Chuck Close.
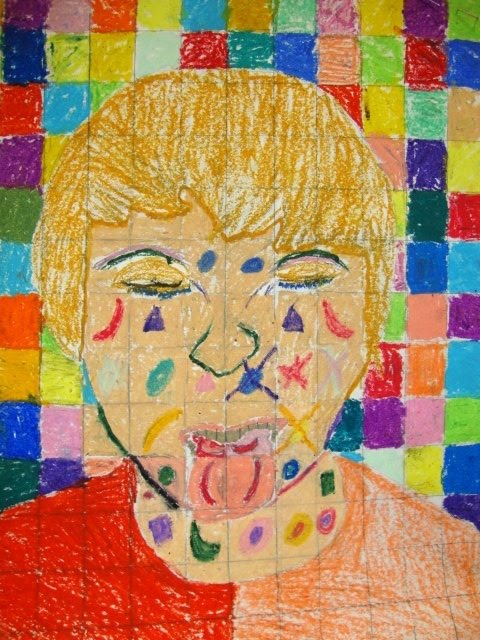
I take pictures (way too close up for comfort) of each student. I then take the picture files home and process them in Photoshop in order to convert them to the correct size and add a grid over the top. You can use actions in Photoshop to have it convert the images quickly. I did all 100 pictures in about 10 minutes.
The kids then use their gridded photographs as a guide for a slightly larger self portrait. I USED MATH (!!!!!!!) to make sure the final grid for the artwork would be exactly one inch by one inch so it would be relatively easy for kids to make their grid. I make sure to tell the math teacher that we're working with rulers and measurement in art. I'm out to impress.
It takes quite a while to complete the project, but the results are worthwhile. I have seen many drawings with this project that are by far the best that I have ever seen from several students. I give the option to use pencil to render the picture with pencil, use colored pencils, or use oil pastels.
Find the full lesson plan here!
During the filming process of claymation, I need another project going on at the same time in order to give the groups who are not filming something to work on. For this project, we studied the work of Chuck Close. We discuss Close's portrait work and talk about how his work has changed throughout the course of his career. I take close-up digital photographs of each student that I then put a grid on in Photoshop and print out in black and white. Each student creates a grid on a larger piece of paper and, like Close, works box by box in order to draw their face. Many students are surprised at how realistic their work can be. This year, I gave students the option of shading with a pencil, using colored pencil, or using oil pastel to finish their work.
5th grade just finished a project based on the work of Chuck Close. Close creates huge portraits that show all details of the subject. Students also learned that Chuck Close is now paralyzed and does not have full use of his arms. He has overcome many challenges, but still makes incredible artwork. Each 5th grade student worked from a digital photograph in order to make realistic self portraits.