Instagram

Tuesday, May 6, 2014

5th Grade Stop Motion 2013-14


Stop motion is back again! This project is one that I don't think can ever go away. I would have a full-scale revolt on my hands and it would be lead by about 125 5th graders. 

I went away from doing strictly "claymation" last year and I really liked the results. I set up the project the same this year. Each class broke into four groups. From then out, the entire project was in the hands of the group. Each group brainstormed, sketched, created sets & characters, drew storyboards, filmed, edited, and recorded voices. It can be a task making sure that 100% of the students are fully engaged all the time, but that was mitigated a bit by the very real threat of a two page artist report! (For the record, 4 students know quite a bit about a famous artist of their choice now!) 
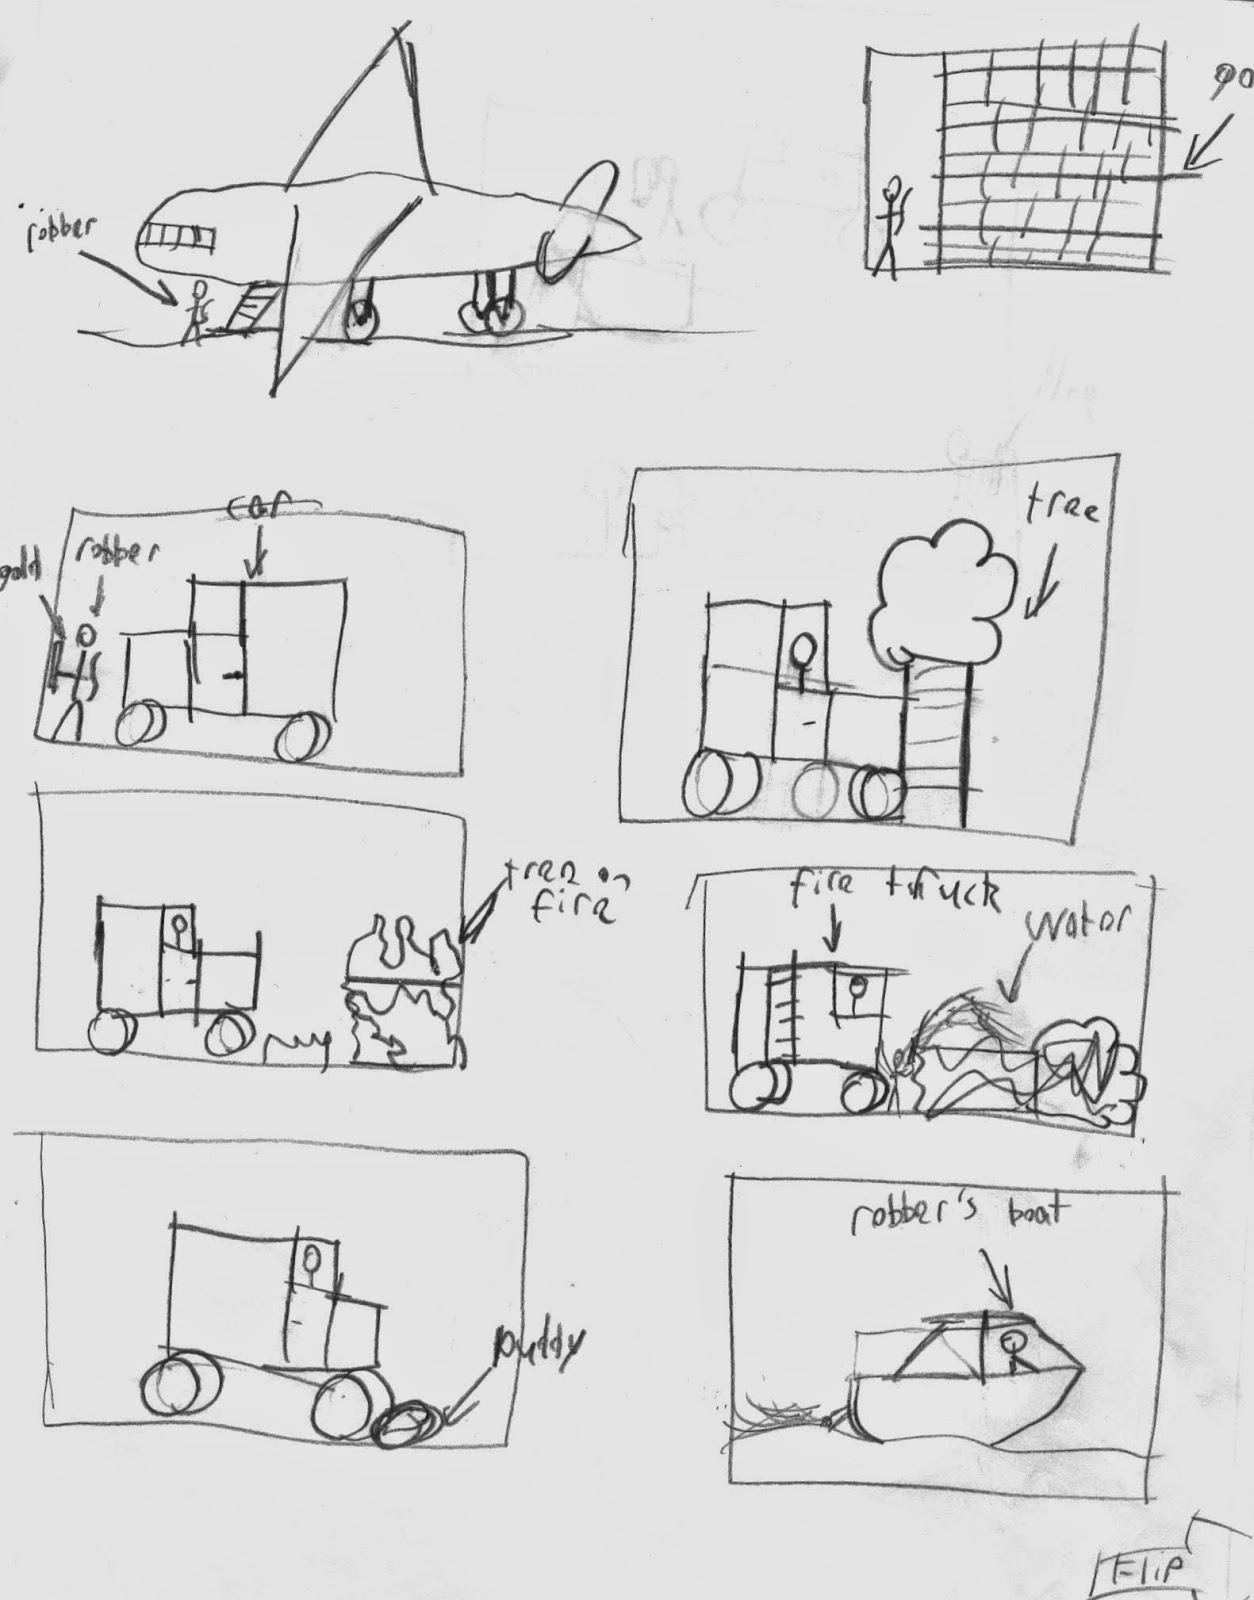

I've also included a couple images of some storyboard work for one group to give everyone an idea of some of the preparation that is necessary for the 5th graders to create their animation. In my experience, this is quite a long project. With everything that needs to be done, the prep and filming alone take a couple of months. I'm going to work on shortening the project next year. I want to do it in a way that still allows for a lot of creativity, but with less total time taken. 


Friday, May 2, 2014

Wayne Thiebaud Gumball Machine Printmaking by 1st Grade

2013-14 has been the school year of new projects for me. One of my goals this year was to do at least one new lesson with each grade level. I think I've even been able to get in a couple new projects with most grades. Another goal was to get a good printmaking lesson written for all five grade levels. (Look for my upcoming presentation about elementary printmaking curriculum at the Art of Ed Online Summer Conference!!!) This was one of those two birds with one stone type of lessons. 

The whole project was inspired by the artwork of Wayne Thiebaud. Of course we all know he painted all kinds of delicious looking food. First graders immediately connect to this. We talked about why people make artwork and how different people have different reasons they create art. 

I was able to connect Thiebaud to printmaking simply because the gumballs were a perfect way of introducing printmaking to my first graders. I took about 30 regular plastic soda caps and hot glued little circles of foam to the top of them. Kids were able to apply tempera paint to the foam circles with a brush, then print circles to their heart's content. The rest of the project was simply made out of construction paper. I was really happy with the results! 

Download the lesson plan here!


Monday, April 28, 2014

2nd Grade Clay Dinosaurs

 It's that time of year again- CLAY TIME! I like to have a variety of 2D & 3D projects in the art show so I like to wait until spring to do many clay projects. This is the third year for 2nd grade to make clay dinosaurs. I think they've come out wonderful again.

This lesson is a nice step up for the clay skills of young students. In first grade, they make a pinch-pot based sculpture, so in second grade, I focus on attaching clay together by scoring and smoothing. This lesson could be easily adapted for nearly any subject matter and still teach the same skills. 

A cool part of the display for these dinosaurs is the background. Last year, I cut some blank green mountains to fit the display space and laminated them. Kids who finish early can add background elements they make out of scrap construction paper. It adds a little environment to the display that really helps make the dinosaurs pop!

Click here to download my lesson plan!


Thursday, April 24, 2014

4th Grade 8-Bit Portraits

I grew up in the 80's. Everything was neon, there was a lot of hairspray, and it was the golden age of video games. I could usually be found playing outside, but I also enjoyed sitting down with the NES playing video games on cold or rainy days. Since the 80's are apparently cool again (why???), I've noticed quite of design that is inspired by 80's 8-bit video game design. That was the basis for this project. 

I was totally psyched to start this project. I put together a Keynote that not only contained sweet 8-bit game characters, but the theme music from the games as well. Teaching art with the Zelda theme in the background simply makes everything a little more epic. My students discussed the qualities and restrictions of 8-bit style and then used some simple grid paper to create a couple of practice versions of themselves as an 8-bit character. Students could do a more realistic version or they had the option of putting themselves in a video game of their own creation. 

The final version was done on a grid that I photocopied onto card stock. The work was drawn out with pencil, then colored with colored pencils. I just wrote this lesson this year, and I think it turned out really cool. I may think about using a slightly larger grid next year, but I was very happy with the results overall. 

Click here to download my lesson plan!

Monday, April 21, 2014

Art Show 2014 is in the Books!

I've been rather absent from posting over the last several weeks. Why? Two words. ART SHOW. As all of my teacher readers know, organizing and setting up an art show takes many, many, many hours. Every spare moment I had at school went toward making name tags, organizing work, creating signs, etc. The list of things to do is always exceedingly long. 

The 6th annual Thomas Elementary Art Show was last week and went quite well. Over 1000 pieces of artwork were on display and the 5th grade stop motion films premiered. Attendance was spectacular. It is worth all of the work to see my students proudly telling their parents all about their work. 

I must give many thanks to several 5th grade student volunteers who gave up a week's worth of lunch recess to help with anything they were asked to do. I also need to thank my wife who took a vacation day to help set up the show. Finally, thanks to the Thomas PTO for providing cookies as well as volunteers to help take the show down at the end of the evening. Overall, the show was a huge success. Best of all, it's done now!
My daughter loved her second art show!


A fun Pinterest inspired idea for drawing during the show.

Sunday, April 6, 2014

Straight From the Art Room

Sometimes teaching elementary students simply makes me laugh. Earlier this week, a 5th grade girl sidled up to me with her hand in her jacket pocket. She gave me a sly look, then took her hand out of her pocket. She was holding a box of Milk Duds (widely known among my students to be my favorite candy) and several photographs of her pets. She proposed a trade. I draw her pets all in one picture and I get the Milk Duds. Ha! I bet none of you have been paid in Milk Duds for your art! I know all of my art school friends from college will be jealous now.
Delicious Milk Dud candies!

Thursday, March 13, 2014

3rd Grade Collagraph Quote Prints

Finished board - letters placed as mirror image.
Finished print of the board above. Sweeeeeeeet.
I can't tell you enough how much I enjoy printmaking. It's just fantastic. I graduated from Columbus College of Art & Design without ever taking a single printmaking class. I was an illustration major and simply didn't have time to fit any printmaking classes into my schedule. I've slowly created a pretty good printmaking lesson for each elementary grade level I teach. This is a new lesson for this school year and I think the results speak for themselves. I got the idea from The Calvert Canvas Blog through Pinterest and modified it to fit well for my 3rd grade students. 

This has been the year of writing new lessons for each grade level. One of the goals I had this year was to create at least two new lesson plans for each grade level. It looks like I'll be able to hit my goal pretty easily. Every time I add a new lesson, it's like a little burst of fresh energy into the art program. I added this lesson for two main reasons. First, I hadn't had a 3rd grade printmaking project previous to this year. Second, collagraph printmaking was a nice step up from the 2nd grade "Wild Things" project.

The goal for this lesson was for students to choose a quote that had personal meaning. After choosing their quotes, students did two typography layout sketches, did a quick critique with a friend, then did a final sketch. Each student got a piece of foam (see the top image) and drew out their quote as block or bubble letters. They then cut them out (with me cutting insides of smaller letters with an x-acto knife) and arranged them as a mirror image of their quote on a piece of chip board. This was a pretty challenging step for many students. I think next year I'll get out a few mirrors so students can self check their work. 

Once I OK'd the mirror layout of the typography, students glued down the letters with a glue stick. I had everyone do a clear coat of acrylic medium on top in order to seal the chip board. I had dreams of them being easily cleaned off, but I realized soon after the first class printed that we wouldn't be able to save the printing boards. I do think that the acrylic helped to provide extra adhesive power for the letters. A few kids that didn't coat their work well with acrylic did loose a few letters when inking their board with a brayer. I may try substituting Elmer's glue for the glue sticks next year and skip the acrylic. I'm still super pumped about this lesson. It will be an art show star this spring. 

Click here to download my lesson plan!