Instagram

Showing posts with label sculpture. Show all posts

Tuesday, June 14, 2016

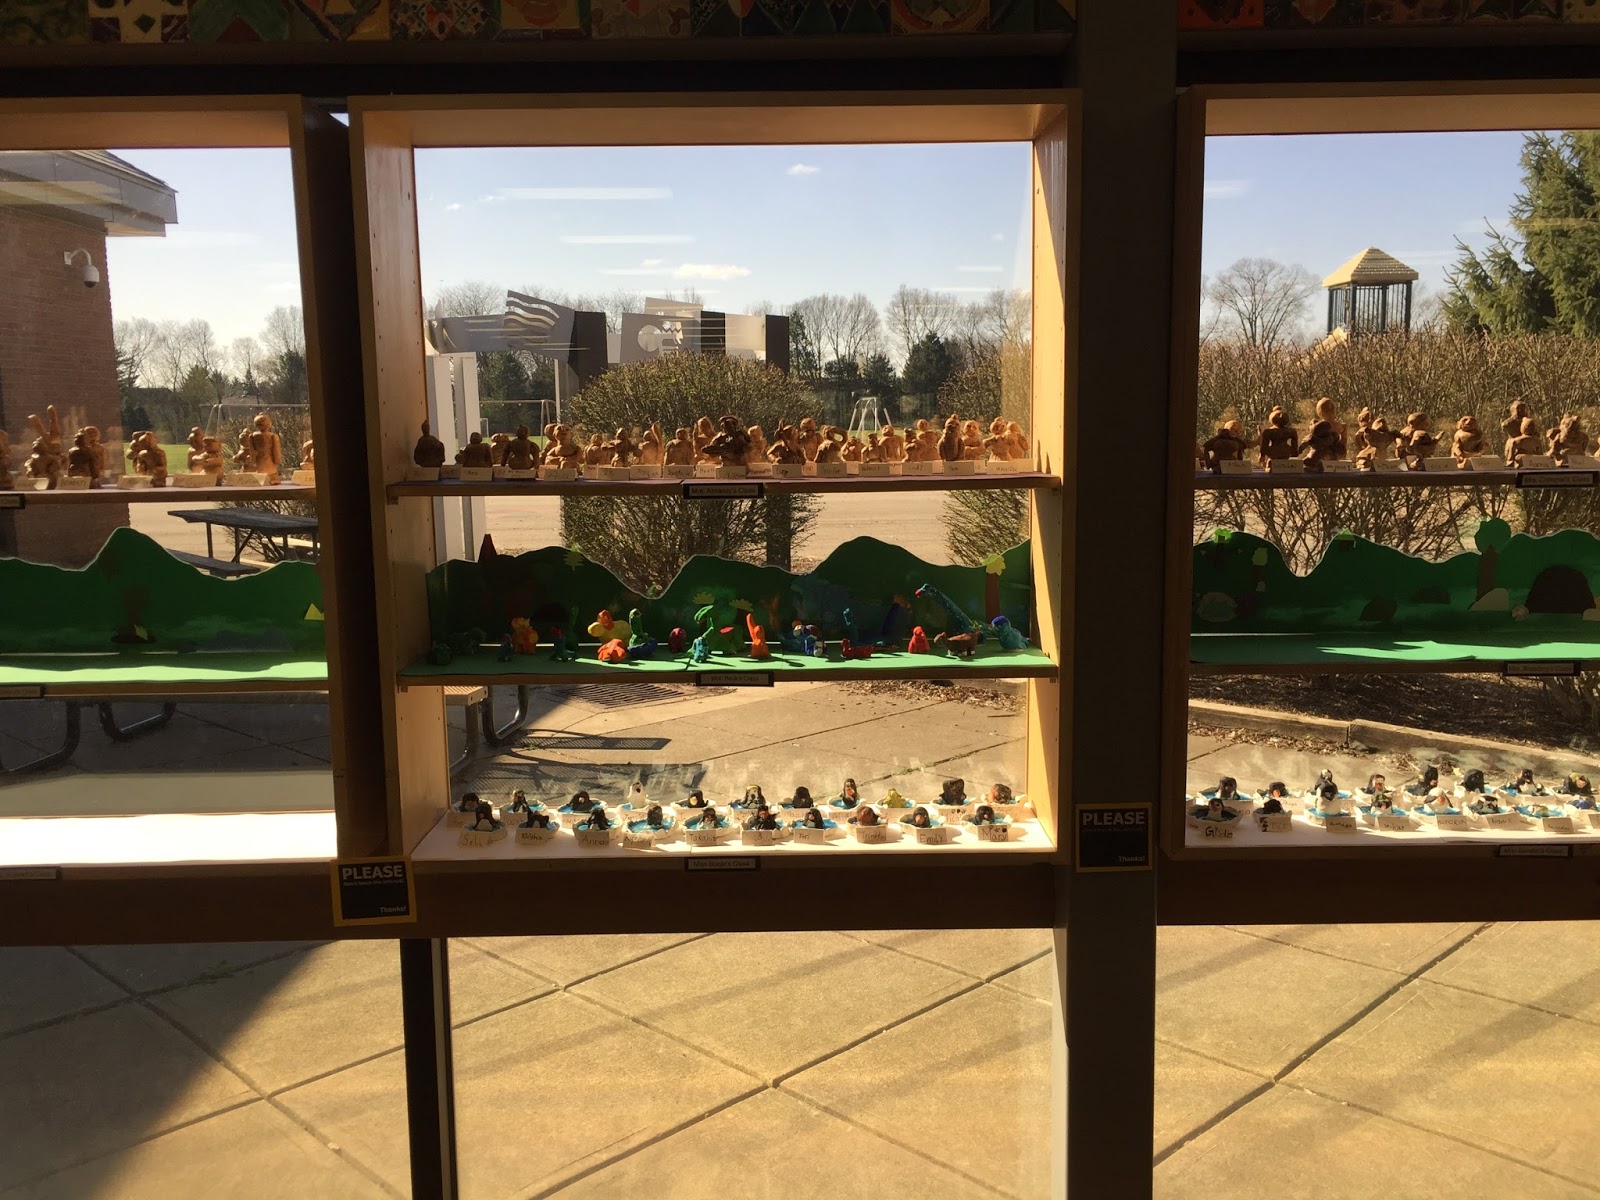
3rd Grade Terra Cotta Warriors

I was lucky enough to post a student teacher again this year. It was my fourth time in the last five years and it went extremely well. Based simply when student teachers are placed in my building, I often will have them work with students on a couple of projects that will wind up in the art show. 

Miss Christie Paul, who was from The Ohio State University, worked with my students for a total of seven weeks. She had written this clay lesson previous to working with my students and I told her it was too cool not to use. 

Miss Paul led discussions about the Terra Cotta warriors found in China. Students learned that each one is different and the sculptures represented many different types of people, not just warriors. Each student first drew his or her own warrior before building it out of clay. The clay went together piece by piece over the course of about three classes and was put together using scoring and a few drops of water. Some details were carved in after the sculpture was finished. 

The warriors were bisque fired, then they needed some paint. We used a two step process that works very well for aging sculptures. Students first painted the entire piece with a mix of acrylic paints that gave it the basic warm light brown color. After that layer was dry, students went over the whole sculpture again with a wash of darker brown paint. This was almost immediately wiped off. The cool part of this technique is that the wash will fill into details and cracks which really brings out the smaller, more intricate elements of the sculpture. 

Overall, this lesson turned out very well. I'm very seriously considering using it again next year! 


Tuesday, November 17, 2015

Hundertwasser Inspired Abstract Tree Sculptures by 2nd Grade

I like to set goals for myself for each school year. They are usually based around what I'm going to teach in a given year. This year, my goal is to write a sculpture lesson plan for each grade level. I have really nice display shelving that I fear goes unused for much of the year simply because of the fact that I like to save most of my ceramic work for the art show in the spring. 

This lesson is the first part of my goal coming to fruition. The basic idea came from a blogger I found through Pinterest. I adapted the artwork that her students created and re-worked the artist inspiration to match some other ideas that were rumbling around in my head. 
The artist I used to inspire the lesson is the multi-talented Austrian artist Friedensreich Hundertwasser. If you don't know this guy, look him up. He's a complete trip. I like his paintings, but his architecture is amazing. During class, we talked about his use of organic lines, bright colors, and his passion for environmentalism. We then created tree sculptures made almost entirely from recycled materials. 


Hundertwasser has many paintings featuring trees that look strikingly similar to lollipops  We took the idea of lollipop trees and made trees with lollipop leaves. The trees were made from poster board scraps, newspaper, scrap construction paper, a little Modge Podge, and a bit of glue. We thought it was pretty funny that we were making recycled art trees out of paper that originally came from trees. I think we completed some sort of environmental circle with this lesson. Either way, it was a super successful lesson and a great learning experience for my 2nd graders!

Click here to download my lesson plan!


Tuesday, October 20, 2015

Creative Play

Creativity. One might think it's automatically a part of all art rooms. I don't agree. To me, creativity is tied closely with choice and critical thinking. In following many art ed blogs and Instagram feeds, I see plenty of lessons in which every child's art LOOKS THE SAME. To me, that doesn't teach creativity. I'm not entirely sure it teaches art. I apologize if this is reflective of your style of teaching. It's just not mine. 

Over the summer, I attended the "Teaching for Creativity Institute" at the Columbus Museum of Art. As an educator, I've been studying creativity along with my elementary art colleagues in my district. I learned quite a bit at the institute, but I learned just as much simply being in the museum. CMA has done some major renovations and additions recently. One of the renovated areas was the kid's area of the museum. It was absolutely filled with items for creative play. This was something I wanted to include in my classroom this year. 
I spent quite a bit of time researching different creative play toys. I wound up purchasing about eight different kinds of materials specifically for creative play. I started the year with only some plain wooden blocks. They were on my list to purchase, but another teacher wanted to get rid of them! Score! I explained to my classes that the blocks would be available to use for early finishers. I assumed they would go over with the younger kids, but I wondered if the older kids would be too cool for wooden blocks. Quite the opposite happened. Every single student wants to play with the blocks. The variety of creative uses for the blocks is astounding. 

Open ended creative play is largely missing in schools today. Kids no longer get to just be kids. Creative play gives students the ability to make their own choices in what they make. They are only limited by their imagination. Since I introduced these creative play options, very few students choose to do free drawing if they finish early. I love seeing the enthusiasm for creativity. 

What do you do to allow creative play in your classroom? I'd love to know!


Monday, July 20, 2015

3rd Grade 3D Paper Landscapes

I love it when a plan comes together. Sometimes it doesn't. That's fine, too. 

This lesson originated as an amalgamation of two projects I've taught to 3rd grade in the past. One of my goals was to create more 3D lessons this year. This was my attempt for 3rd grade. 

Essentially what I wanted to do was have a paper landscape with individual pieces created for the foreground, middle ground, and background. The landscape would depict the habitat of an animal that would also be included in the work. The landscape elements would be combined with two accordion-like edges, and a little paper frame would finish the front. It would look something like this quick demo piece I did. 

The project went great. Then I demonstrated how to put the whole thing together. That's when I got the dreaded look of confusion from most of the class. I knew the way I had it planned was going to be kind of difficult, so I had my demonstration broken down pretty well. I was using a document camera and my projector to project my demo on the big screen so everyone could see. We worked step by step. A few kids got it, but it was mass confusion for the rest. Needless to say, I changed things the next day. 

I ended up making little springs out of 1x3 strips of card stock and having students attach attach several in between layers of their landscape. I still really like how the project turned out and it was MUCH simpler to teach to my other four classes.


Monday, February 23, 2015

Finished Dinosaur Demo

Alright. It's absolutely frigid outside. The actual temperature here in Columbus, Ohio on Friday was -10. I couldn't feel my face during outdoor duty this morning. My view from my room is a massive pile of snow that has been plowed from the playground. It's Monday. We all need a little levity. For that, I present to you my finished example piece for my Art Club students. If a bright pink paper mache dinosaur head mounted to the wall doesn't make you laugh, I'm not sure what will. Enjoy. 


Friday, February 13, 2015

Art Club Update

I thought I'd tell you all a little more about Art Club. What's the first rule of Art Club? Tell EVERYONE about Art Club. 
I have a total of 20 4th and 5th grade students in Art Club. We meet every Thursday after school until 5:00 for 12 weeks. There was a small fee involved to pay for materials and the club t-shirt (that we screen printed ourselves). Students had to apply to get in and I based entry on the application as well as overall classroom behavior. I limited the group size to 20 because I wanted to work on bigger and more difficult projects. It's also nice not to have 30 kids in my classroom.

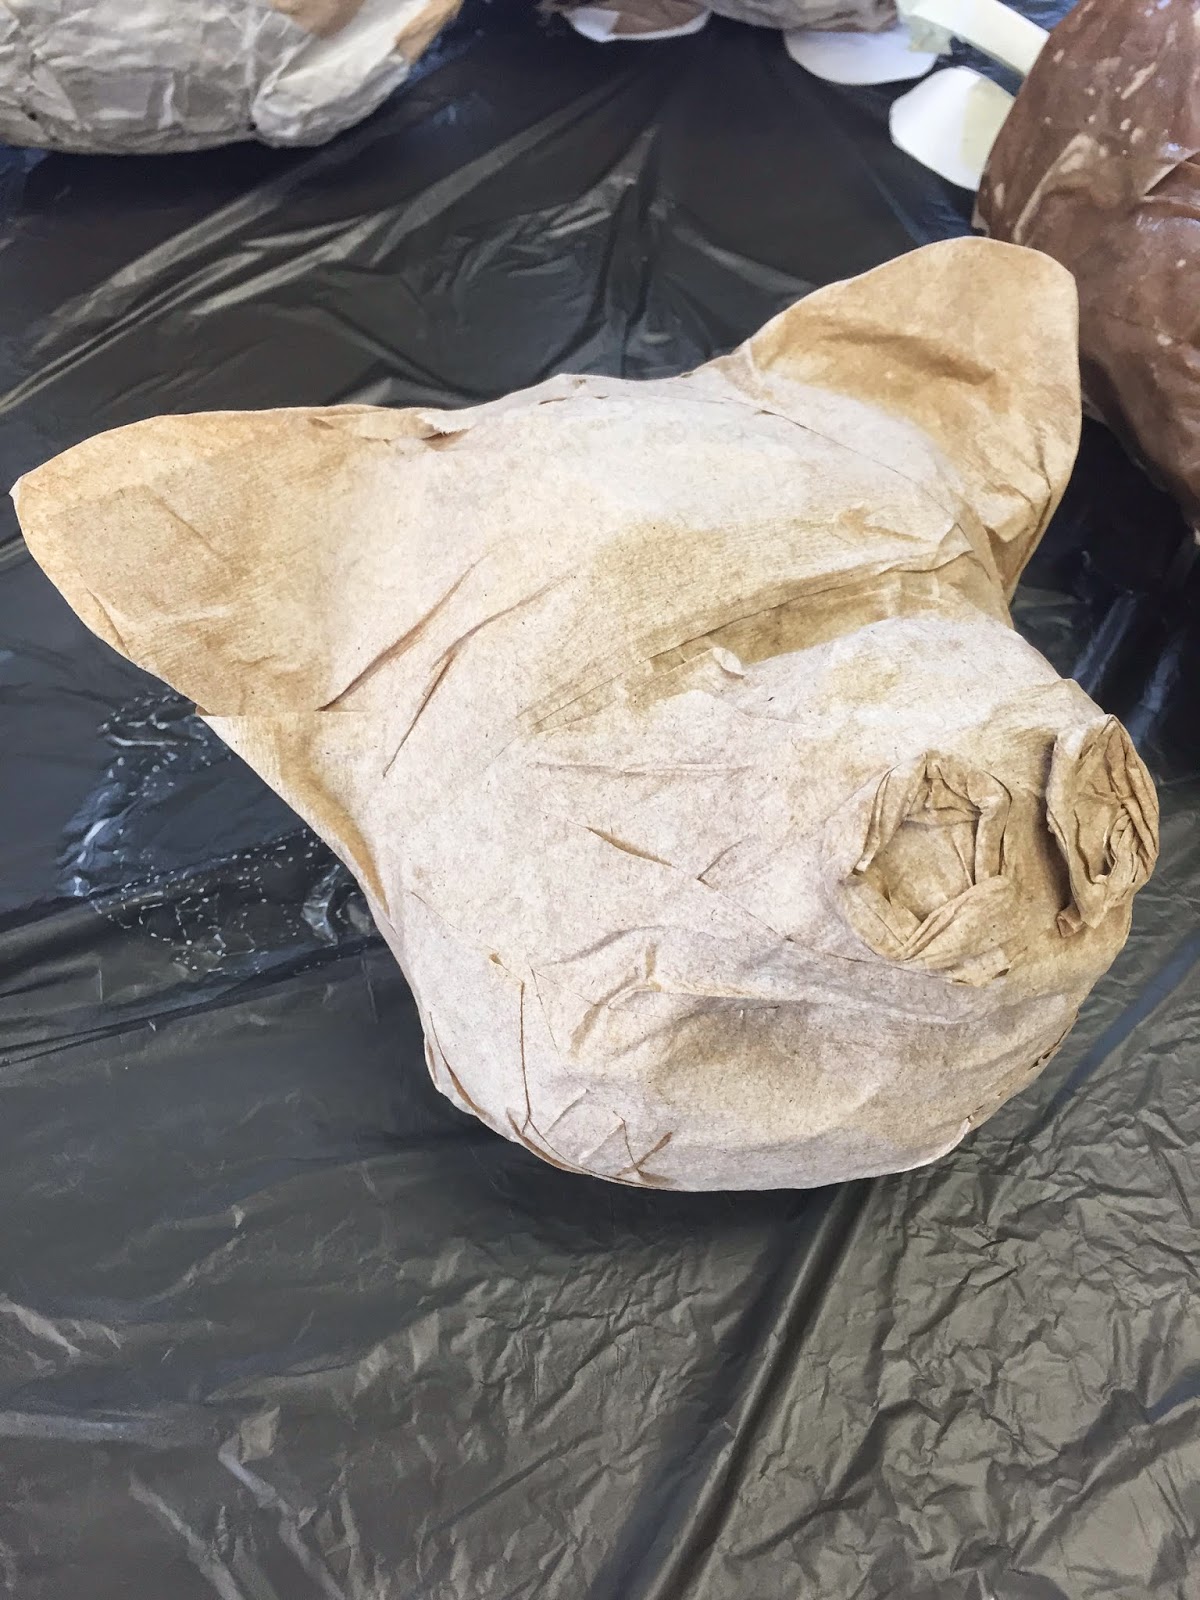
We're currently working on paper mache animal heads that will be mounted on wooden backing boards that will be able to hang on the wall. It's kind of a riff off of taxidermy. Anyway, here are a few in process examples. Enjoy.
There's nothing like a big pile of animal heads to give your art room that unique touch.
Giraffe
Saber Tooth Tiger
Of course I had to do an example
piece. This pink Brontosaurus will
wind up in my daughter's room.


Friday, January 30, 2015

Art Club is the Greatest

Art Club might be my best decision in many years. I decided to start it this year and, so far, we've had three meetings. Art Club meets on Thursdays right after school until 5:00. I have 20 4th and 5th graders who all had to apply to join. Of course I got all kids who are in love with art. 20 super talented students and no behavior issues. It's like art teacher heaven. 
1/4 of Art Club in their sweet shirts we screen printed last week. One of these
days I'll remember to take a picture before we get busy making awesome art. 
A big reason for starting Art Club was to give my students some extra opportunities to continue to improve their art skills. I'm able to have them work on projects that would either be too difficult for a whole grade level or impossible to store with 120 kids working on large projects. 

Our first project is animal head sculptures made out of paper mâché. They'll eventually be mounted to boards I cut out of MDF. They'll look similar to taxidermy mounts. The pictures below are a few in-process works. 


Thursday, May 8, 2014

Clay Gnomes by 3rd Grade

Admit it. Gnomes are funny. Even the spelling of the word gnome makes me laugh for some reason. Maybe I'm just a nerd. I'm cool with that. The clay project this year for third grade was making garden gnomes. They turned out wonderful and my students had a great time making them. 

The basic shape of the gnome was achieved by wrapping a slab of clay around a yarn cone. Additional details were made with both additive and subtractive sculpture techniques. Students added items with personal meaning instead of traditional tools that gnomes often hold. The nerd in me particularly appreciates the Gandolf gnome (the grey one with a staff). 

Download my lesson plan!